Table of Contents
Introduction
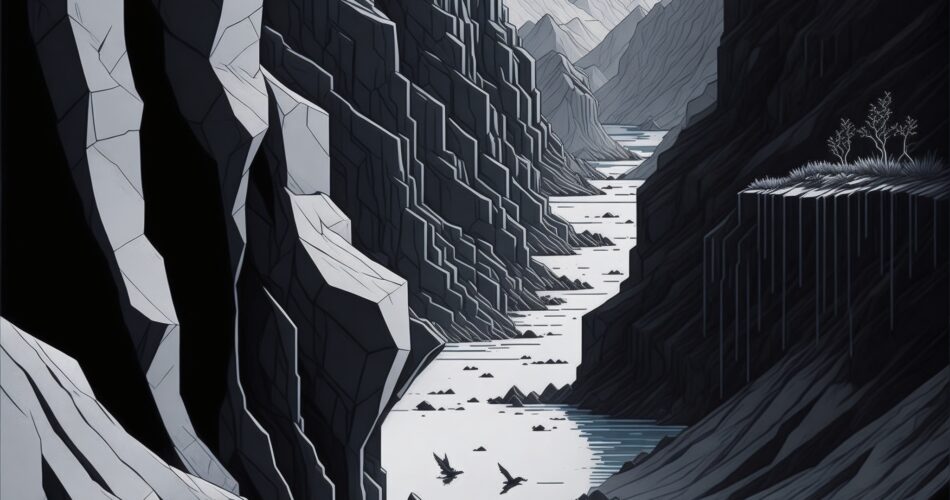
Inking a canyon may seem daunting given the complexities of its natural formations.
However, with the right techniques, you can create a work of art that captures the grandeur and majesty of these geological wonders.
In this comprehensive guide, we’ll explore techniques, tools, and best practices to help you craft a visually stunning representation of a canyon.
Key Takeaways
- Selecting appropriate tools sets the groundwork for your artwork.
- Understanding geological features adds authenticity.
- Different inking techniques can be used to capture various textures.
- Depth and perspective are crucial for a visually engaging piece.
Choosing the Right Tools
The first step in your journey is selecting the appropriate inking tools.
A variety of pens can yield different effects, so understanding their features is crucial.
- Fine Liner Pens: For precise lines and intricate details.
- Brush Pens: Suitable for broader strokes and gradients.
- Calligraphy Pens: Useful for dramatic flair and thicker lines.
Understanding Canyon Anatomy
Understanding the geological features of a canyon is vital for a realistic portrayal.
Get acquainted with terms like mesas, buttes, and river beds to add authenticity to your artwork.
- Mesas and Buttes: The flat-topped elevations.
- River Beds: The lowermost point, often depicted with wavy lines.
- Rock Layers: Striations that indicate geological age.
Ink Techniques for Textures
Textures play an essential role in bringing your inked canyon to life. Here are some techniques to simulate different textures.
- Cross-Hatching: Ideal for showing variations in rock formations.
- Stippling: Use for sandy or gravel areas.
- Smudging: Useful for softer, distant elements like sky or fog.
Adding Depth and Perspective
A visually striking canyon illustration incorporates depth and perspective.
Use shading and vanishing points to give a 3D look to your 2D canvas.
- Vanishing Points: Where lines converge to show distance.
- Shading: To differentiate between the closer and distant formations.
Final Touches
Once you’ve inked all the essential elements, it’s time for final adjustments.
Review your artwork, rectify any mistakes, and add any missing details.
Conclusion
Inking a canyon doesn’t have to be an intimidating endeavor.
With the right techniques, tools, and a solid understanding of geological features, you can capture the majesty and intricacy of these natural wonders in your artwork.
Frequently Asked Questions
Q: What types of ink work best for inking a canyon?
A: While most artists prefer using waterproof, pigment-based inks for their durability and vividness, some also opt for water-soluble inks to create unique blending effects.
Q: How can I add a time-lapse effect to show the passage of time in my canyon art?
A: To depict a time-lapse effect, consider adding elements like the movement of the sun or moon, or changes in shadows across the canyon formations. This will give the impression of time passing.
Q: Can I use colored inks for my canyon illustration?
A: Absolutely! Colored inks can add a new dimension to your artwork. Earth tones are excellent for depicting natural formations, while brighter colors can add a fantastical element.
Q: What is the average time needed to complete an inked canyon artwork?
A: The time needed can vary widely depending on the complexity of the illustration and your expertise level. However, expect to spend at least a few hours on a detailed piece.
Q: Do I need any specialized training in geology to ink a realistic canyon?
A: While specialized training can enhance the authenticity of your work, it’s not mandatory. Basic research and observation of real-life canyons or photographs should suffice.
Q: How do I fix mistakes in my inked canyon drawing?
A: Mistakes can be difficult to fix in ink drawings, but not impossible. Some artists use white ink or correction pens to cover errors. Alternatively, digital editing can correct mistakes post-production.
Q: What are some popular canyons to draw for beginners?
A: The Grand Canyon, Antelope Canyon, and Bryce Canyon are all popular choices. They offer a range of geological features but are recognizable enough that small mistakes are less noticeable.
Q: How can I make my canyon art look vintage or antique?
A: To give your artwork a vintage feel, you can use sepia-toned ink, or artificially age the paper with tea or coffee stains. Textured or handmade paper can also add an old-world charm.


