Table of Contents
Introduction
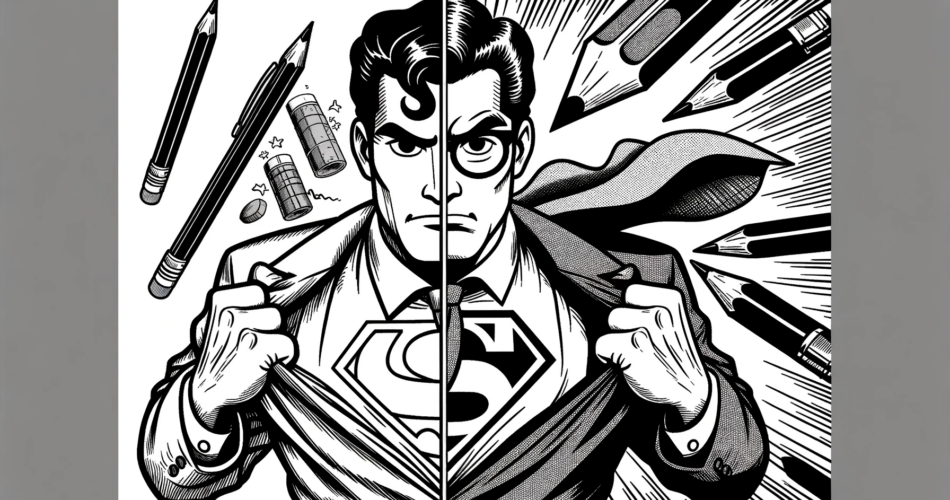
From superheroes to slice-of-life, comics offer readers an escape into various worlds and narratives.
Central to this visual storytelling medium is the art of inking, which elevates penciled sketches into polished, publishable pieces.
For aspiring comic artists, understanding the intricacies of inking is crucial.
This in-depth guide sheds light on the world of comic inking, offering techniques, insights, and tips to enhance your illustrations.
Key Takeaways
- Grasping Inking Fundamentals: Delving deep into what comic inking truly entails.
- Equipping Yourself: A closer look at traditional and modern inking tools.
- Mastering Techniques: From basic strokes to advanced methods.
- Embracing Depth & Dynamics: The art of using shadows and highlights.
- Avoiding Pitfalls: Tips to sidestep common inking errors.
The Integral Role of Inking in Comics
While often perceived as mere tracing, inking is an art that accentuates and refines. It provides depth, mood, and clarity, separating elements in a panel and guiding the reader’s eye. The inked lines determine the final look, making it a critical phase in comic creation.
Tools of the Trade: Traditional vs. Digital
- Traditional Inking:
- Ink and Brushes: Offer fluidity, making them perfect for dynamic lines.
- Technical Pens: Deliver consistent lines, ideal for detailed work.
- Dip Pens: Provide varied line weights, allowing for artistic flexibility.
- Digital Inking:
- Graphics Tablets: Devices like Wacom or Huion offer precision and versatility.
- Software Choices: Programs like Clip Studio Paint and Adobe Illustrator come equipped with varied brushes and stabilization features.
Diverse Inking Techniques for a Polished Look
- Line Weight Variation: Using thicker lines for foreground elements and thinner ones for backgrounds creates depth.
- Hatching & Cross-Hatching: Convey texture and shadows. The density and angle of lines determine the darkness.
- Stippling: A technique involving placing tiny dots to suggest gradients and shadows, especially useful for skin tones and skies.
- Contour Lines: Emphasize the form and volume of objects by varying line thickness around curves.
Depth, Dynamics, and Drama: The Power of Shadows
Understanding light is fundamental in inking. By mastering shadows:
- Directional Light: Determines where the shadows fall. Is the light source in front, behind, or to the side?
- Ambient Light: Soft, diffused light that affects the overall tone.
- Hard vs. Soft Shadows: Hard shadows have defined edges, while soft shadows gradually fade out.
- Reflective Light: Light bouncing off surfaces can illuminate otherwise shadowed areas, adding depth.
Navigating the World of Inking: Common Mistakes
- Over-inking: Less is often more. Avoid making panels too busy or dark.
- Inconsistent Lighting: Ensure light sources remain consistent throughout scenes.
- Rushing the Process: Inking demands patience. Hurrying often leads to errors and shaky lines.
Conclusion
Comic inking is a meticulous art, bridging the gap between initial sketches and the final piece.
By understanding its nuances, practicing diligently, and experimenting with techniques, you can produce captivating comics that resonate with readers.
Remember, every inked line contributes to the narrative, making your storytelling visually compelling.
FAQs on How to Ink a Comic
Q: What’s the difference between inking for black and white comics vs. color comics?
A: For black and white comics, inking plays a crucial role in differentiating elements and adding depth since color won’t be used for distinction. In color comics, inking defines shapes and elements, but color will provide additional depth and differentiation.
Q: Can I use colored inks in my comics?
A: Absolutely! Colored inks can give a unique style to your comics. However, ensure that the ink’s color complements the overall color palette if you’re planning to add colors later.
Q: Is it better to ink digitally or traditionally for professional comic publication?
A: Both methods have their merits. Digital inking offers more flexibility with undo options and varied brushes, while traditional inking gives a unique, organic feel. Many professionals use a combination of both.
Q: How do I prevent smudging when inking traditionally?
A: To prevent smudging, always start inking from the top left corner and proceed to the bottom right (for right-handed artists) or vice versa for left-handed artists. Also, a clean sheet of paper or a hand guard can be placed under your hand.
Q: How long should I let the ink dry before erasing pencil lines or adding colors?
A: It’s best to wait for at least 10-15 minutes. However, drying time can vary based on the type of ink and paper used. Always test a small section first before erasing or adding colors.
Q: Do I need to ink all the pencil lines in my comic sketch?
A: Not necessarily. Inking is about refining and emphasizing. Some pencil lines serve as guidelines and don’t need to be inked, while others should be emphasized. Trust your artistic judgment.


